APIを有効化
まず、Google Cloud の APIページにアクセスします。

Google Cloud プラットフォーム
Google Cloud Platform では、Google と同じインフラストラクチャでアプリケーション、ウェブサイト、サービスを構築、導入、拡大することができます。
console.cloud.google.com
左側のメニューから「APIとサービス」→「有効なAPIとサービス」
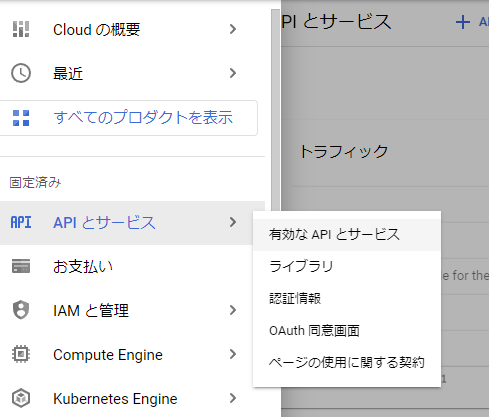
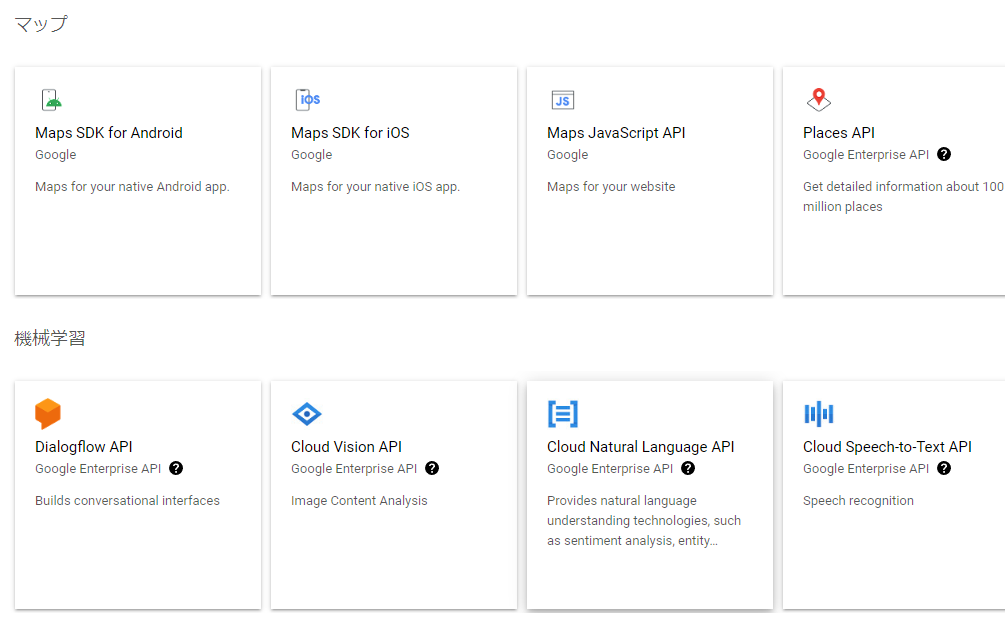
APIとサービスの有効化

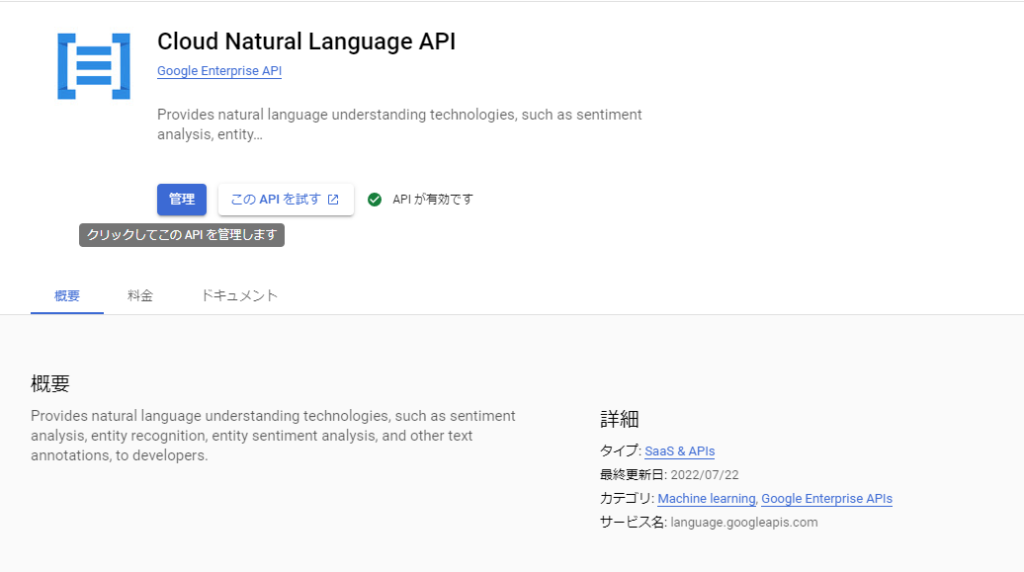
「Cloud Natural Language API」を選択
有効化します(ここでは有効化済)
「APIとサービス」から「認証情報」のページを開きます

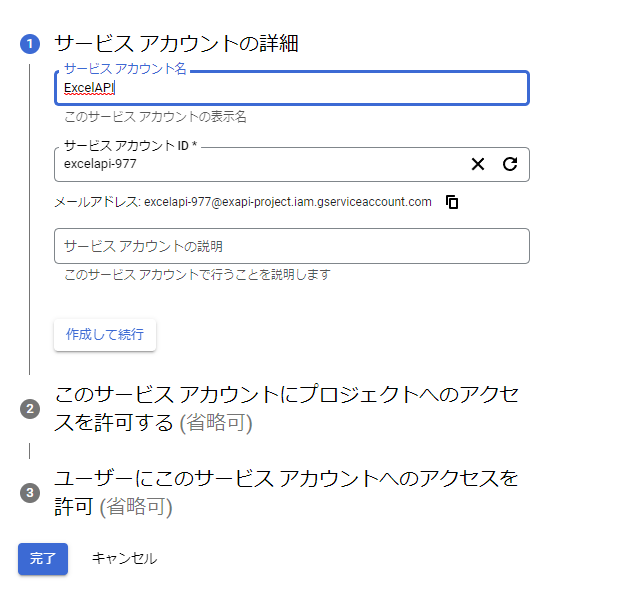
「認証情報を作成」→「サービスアカウント」

サービスアカウント名を入力。IDは自動生成で良い。説明は必要なら。
Cloud Natural Language は AutoML のサービスの一部に当たるので、AutoML の権限を与えます。
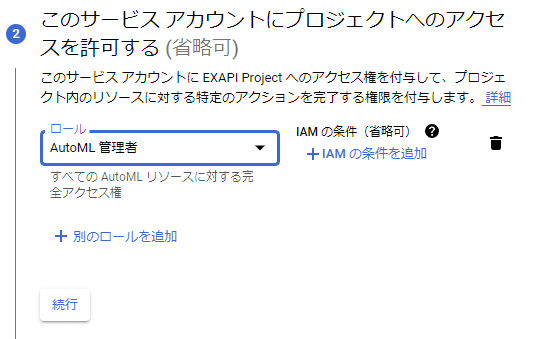
IAM roles for Google Cloud Natural Language API
I want to use Google Cloud Natural Language API with its Node.js lib. For authentication, I use a service-account as sug...
stackoverflow.com
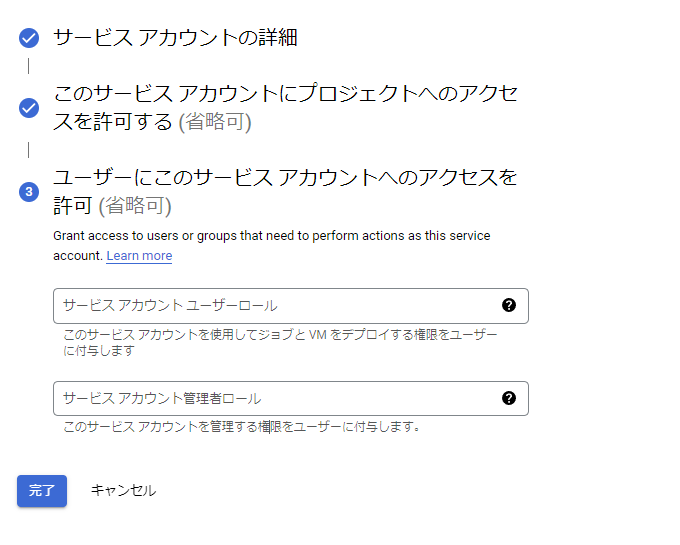
完了
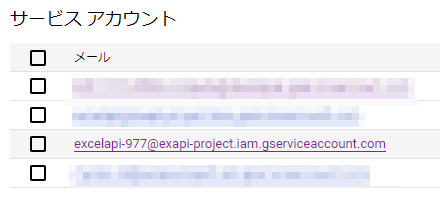
作成したサービスアカウントをクリック
「キー」から「新しい鍵を作成」
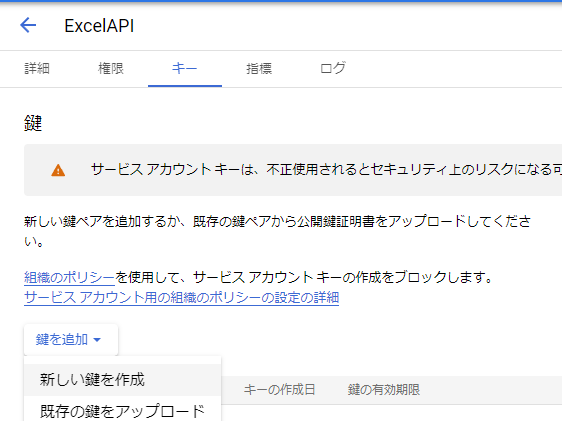
JSONでOK
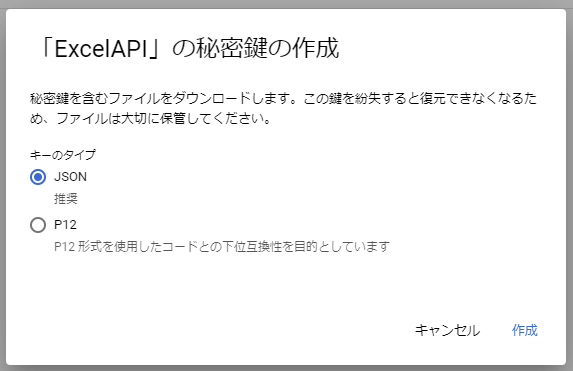
ファイルをダウンロードしておきます。
最後に、GOOGLE_APPLICATION_CREDENTIALS を設定します。
環境変数への登録方法は以下のページを参照してください。
Google での認証方法 | Authentication | Google Cloud Documentation
Google API に対する認証方法(アプリケーションのデフォルト認証情報の使用など)。
docs.cloud.google.com
Linuxの場合は以下のように設定します。
$ export GOOGLE_APPLICATION_CREDENTIALS="/home/user/Downloads/service-account-file.json"認証系はこれで完了です。
プログラム作成
Cloud Natural Language API のパッケージをインストールします。
パッケージインストール:
npm install @google-cloud/language
Just a moment...
www.npmjs.com
コードは以下のように書きます。
コード:
google()

async function google() {
    const language = require('@google-cloud/language');
    const client = new language.LanguageServiceClient();

    const text = "今日はいい天気です";

    const document = {
      content: text,
      type: 'PLAIN_TEXT',
    };

    // Detects the sentiment of the text
    const [result] = await client.analyzeSentiment({ document: document });
    const sentiment = result.documentSentiment;

    console.log(`Text: ${text}`);
    console.log(`Sentiment score: ${sentiment.score}`);
    console.log(`Sentiment magnitude: ${sentiment.magnitude}`);
}
結果:
$ node .\test.js
Text: 今日はいい天気です
Sentiment score: 0.800000011920929
Sentiment magnitude: 0.800000011920929
まとめ
初めての場合は認証系が少々手間ですが、GoogleのAPIは全て同様の手順となっているため一度は慣れておく必要があります。
コードは非常にシンプルですので簡単にスコアを判定できるのはいいですね。
備考
APIKEY方式は以下の記事をご参考ください。
こちらの方がセキュリティ面に懸念はありますが認証は楽かもしれません。
Natural Language API でお手軽センチメント分析(感情分析) - Qiita
SNSで取り上げられている発言を分析して、あるサービスや商品に対する評判を可視化したい、と言うケースに当たりました。 (=センチメント分析)。 GCPのサービスの一つ 「Natural Language API」を使ったところ、お手軽にセン...
qiita.com
コメント