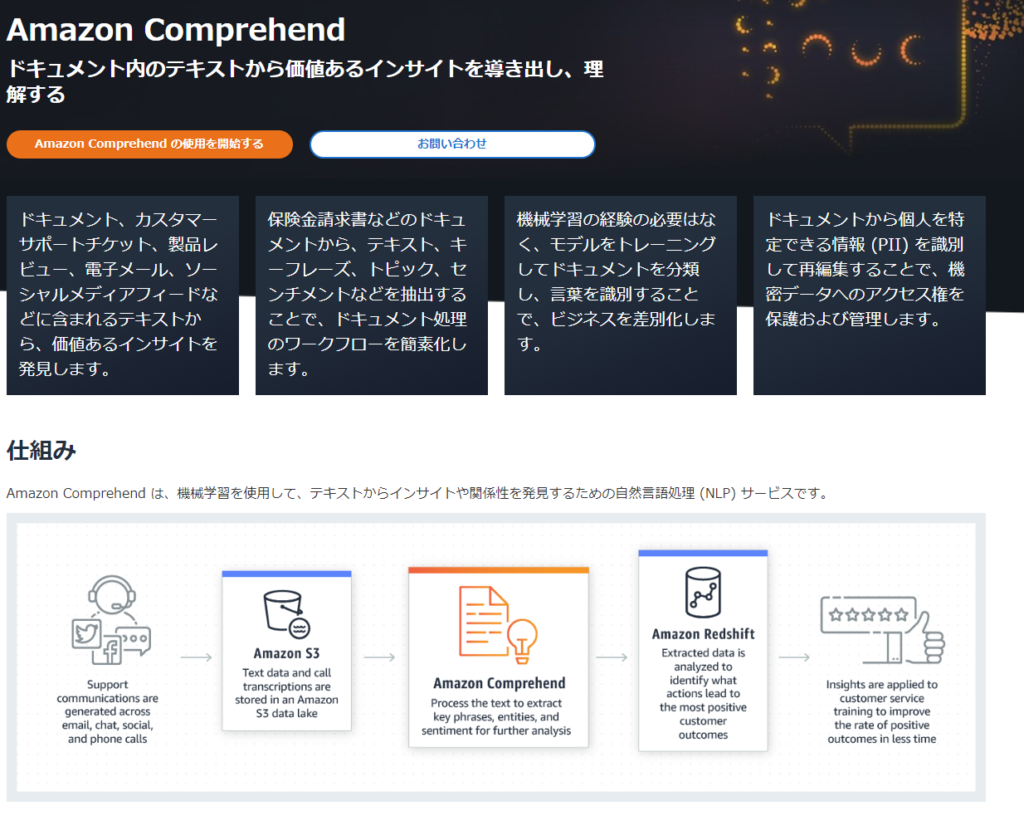
はじめに
pythonを使用する方法は数あれど、Node.jsの手順が見当たらなかったので書いておきます。
手順
IAMユーザーの作成
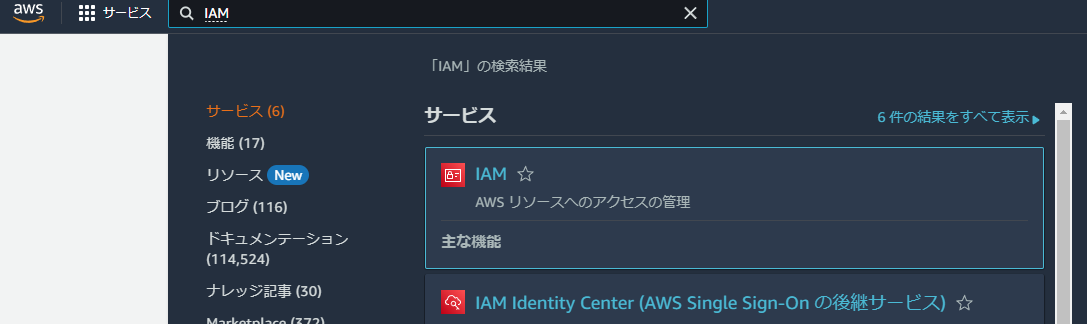
IAMを選んで開く

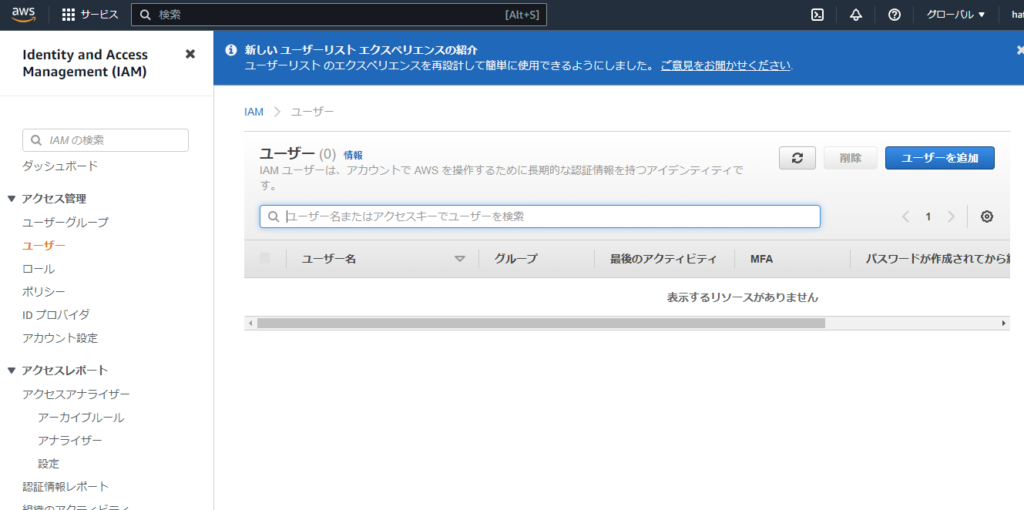
左側からユーザー > ユーザーを追加
ユーザー名:てきとう
「アクセスキー・プログラムによるアクセス」にチェック

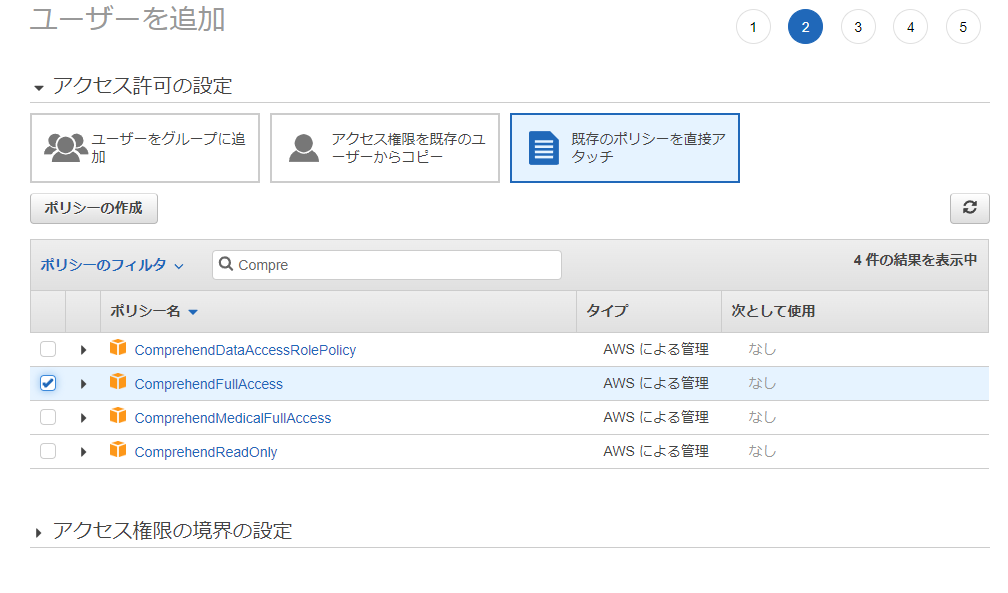
「既存のポリシーを直接アタッチ」を選択
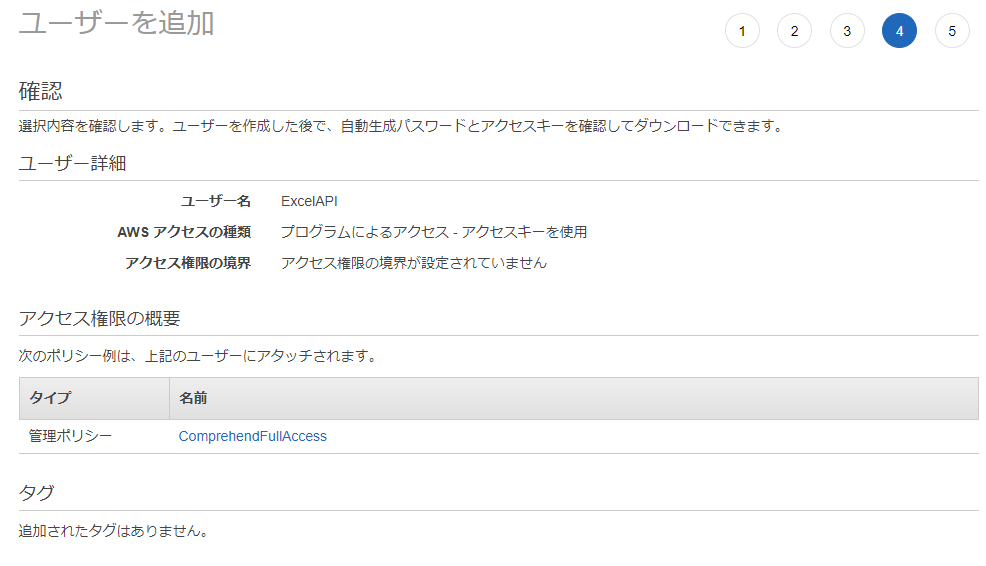
「ComprehendFullAccess」にチェック。ReadOnlyでもOK
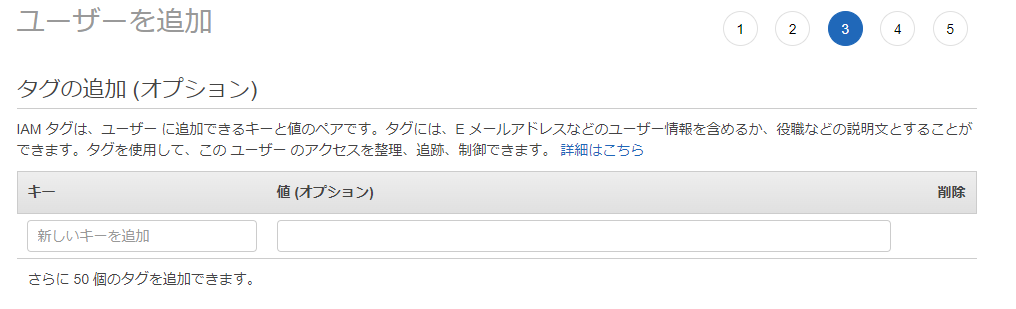
タグは必要なら設定。私はスルー
確認して作成
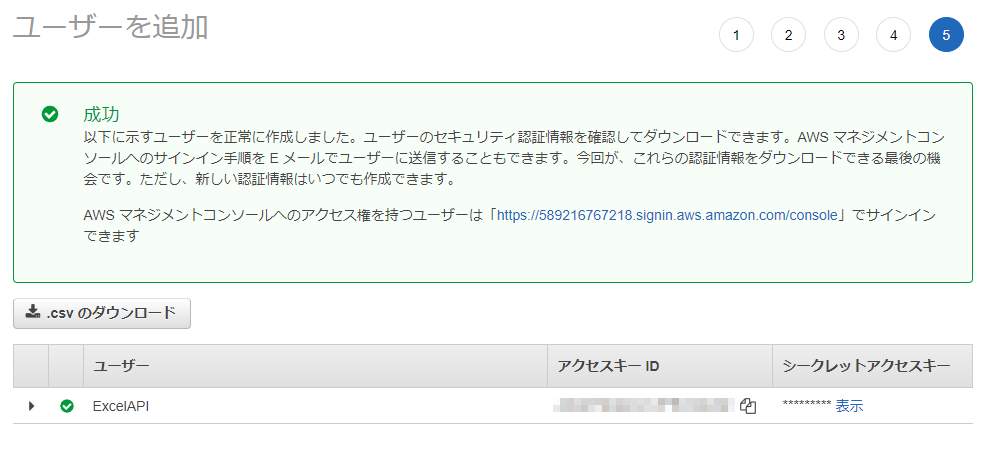
キーが作成されるのでメモする
パッケージインストール
npm install @aws-sdk/client-comprehend
Just a moment...
www.npmjs.com
コードを書く
次のようにコードを書きます。
FAKEの部分を発行されたキーに書き換えます。
regionは日本で提供されていないため、us-east-1 になります。
async function test() {
    //import { ComprehendClient, DetectSentimentCommand } from "@aws-sdk/client-comprehend"; // ES Modules import
    const { ComprehendClient, DetectSentimentCommand } = require("@aws-sdk/client-comprehend"); // CommonJS import
    input = {
        LanguageCode: 'ja',
        Text: "今日はいい天気です。"
    }
    config = {
        region: "us-east-1",
        credentials: { accessKeyId: 'FAKE', secretAccessKey: 'FAKE' },
    }
    const client = new ComprehendClient(config);
    const command = new DetectSentimentCommand(input);
    const response = await client.send(command);
    console.log(response)
}
公式マニュアルはこちら

ERROR: The request could not be satisfied
docs.aws.amazon.com
結果:
{
  '$metadata': {
    httpStatusCode: 200,
    requestId: 'd0f0746e-f955-4e69-9e12-f42b8fa7dd28',
    extendedRequestId: undefined,
    cfId: undefined,
    attempts: 1,
    totalRetryDelay: 0
  },
  Sentiment: 'POSITIVE',
  SentimentScore: {
    Mixed: 0.0000174756241904106,
    Negative: 0.00013606830907519907,
    Neutral: 0.0015866407193243504,
    Positive: 0.9982598423957825
  }
}
→ POSITIVEとなります
以上。
コメント